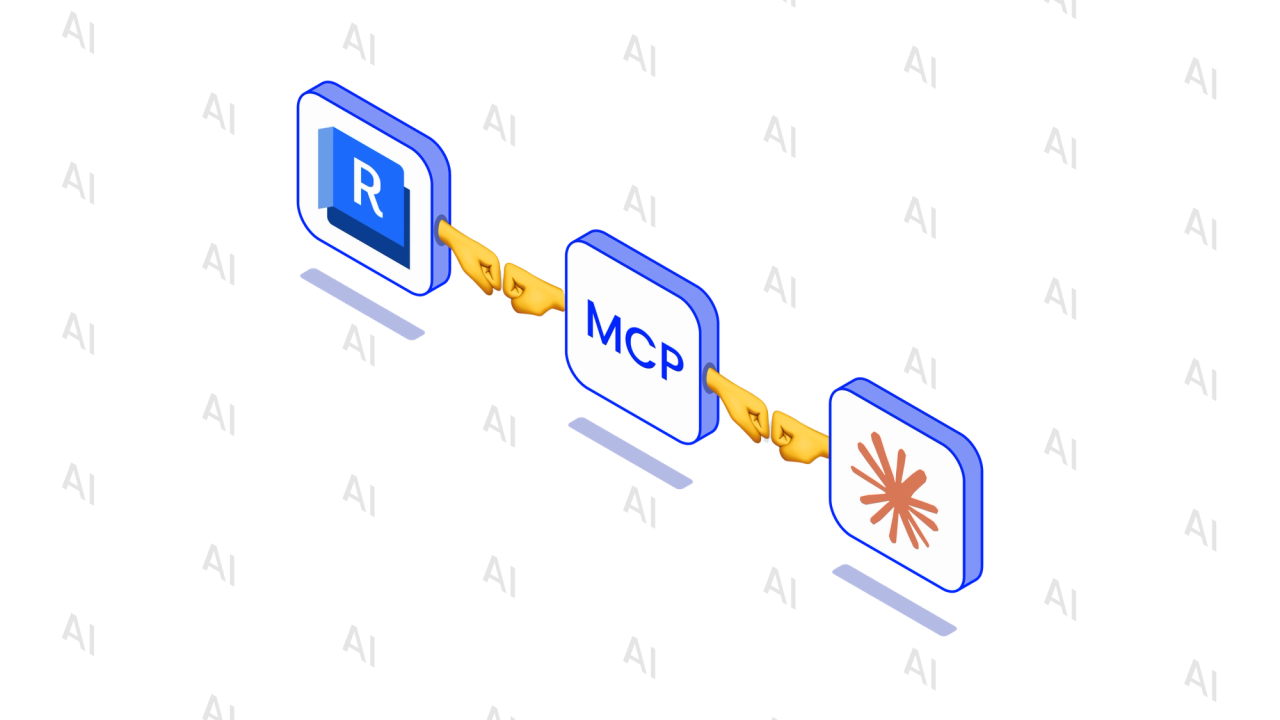
Pinly MCP: Connect AI assistants to your Revit workflow

CEO & Co-founder
Published
Updated
TL;DR
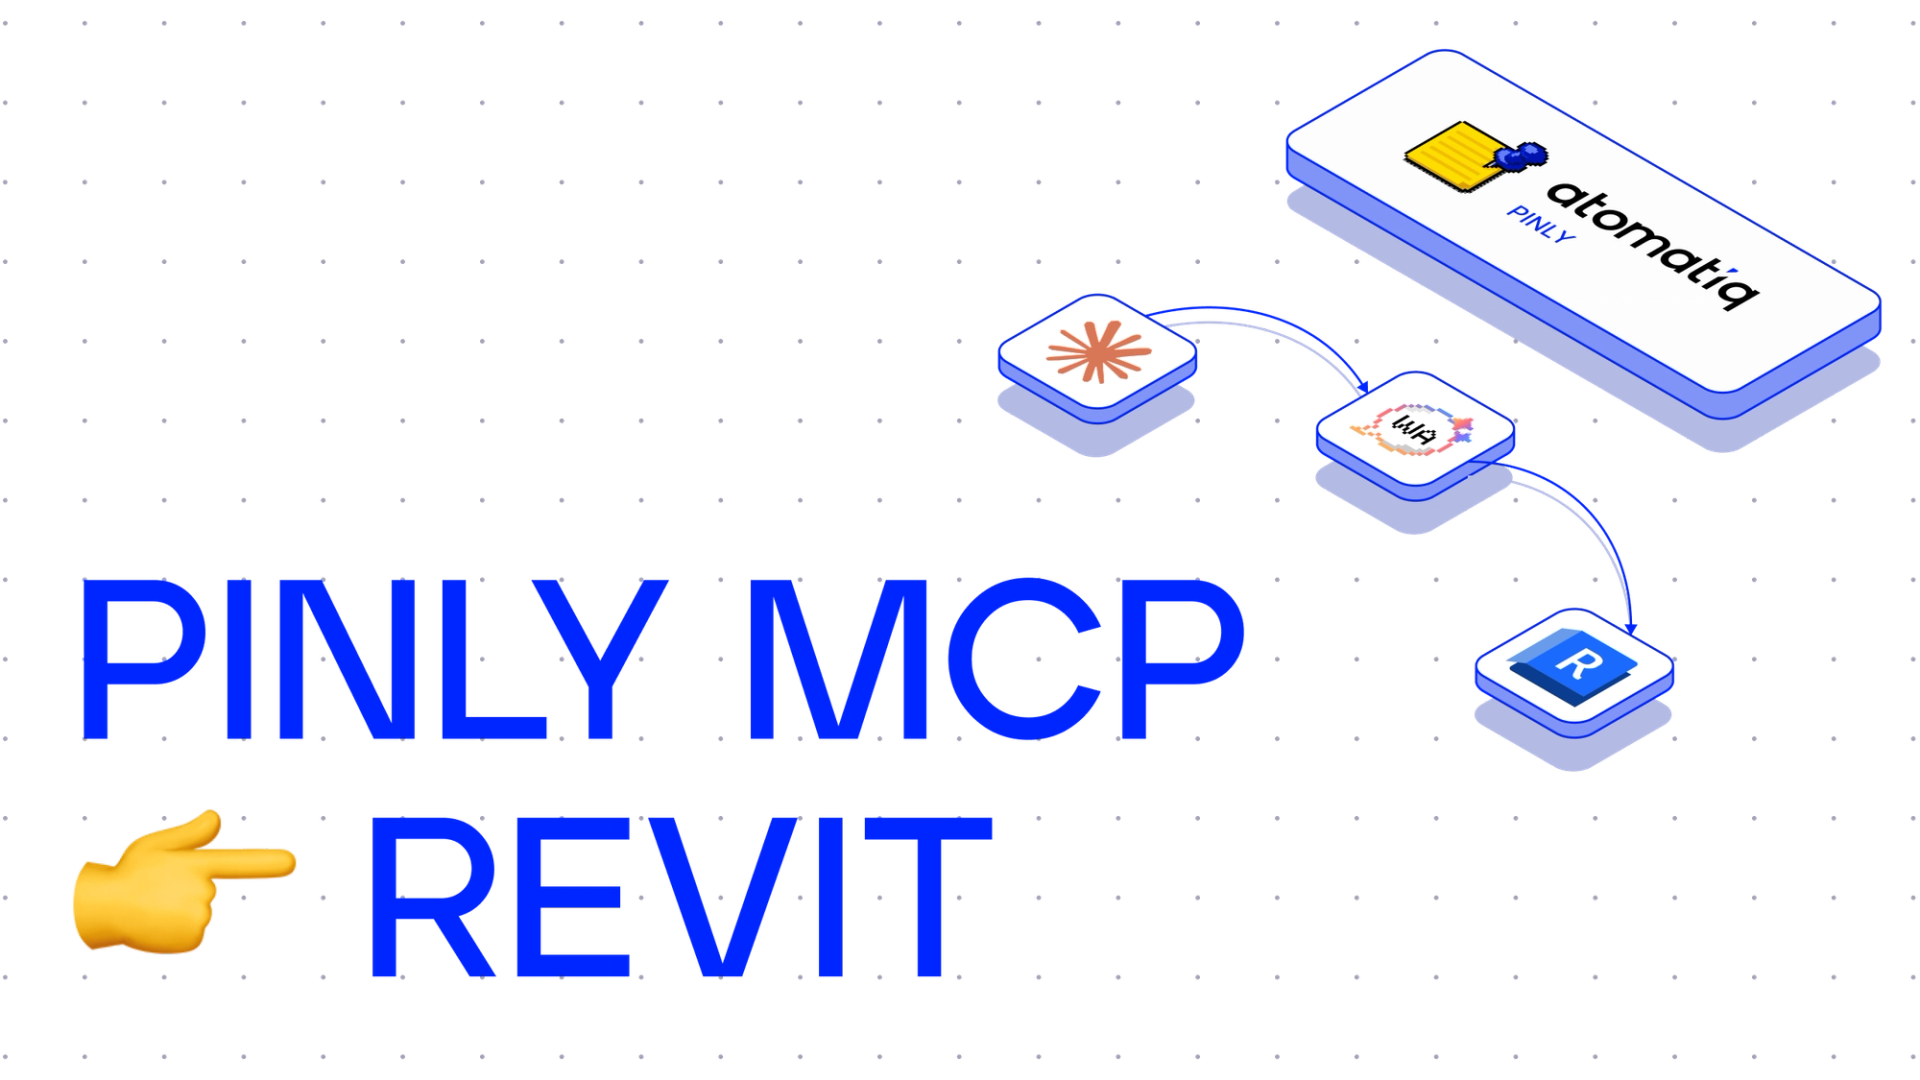
Pinly now supports the Model Context Protocol (MCP), so AI can manage Revit comments on its own: finding, creating, updating, and resolving them in bulk. Paired with Revit MCP, it can scan the model, track down specific elements, and pin comments right on them.
Introduction
We’re always looking for ways to streamline project collaboration in Pinly. A well-designed interface can simplify everyday workflows, but natural language opens up another way to interact with software.
This is made possible by the MCP — an open standard that allows AI assistants to securely connect to external tools and data. Simply put, it lets AI step outside its chat window and "do" things in your workspace.
With our latest update to the Pinly server app and Revit plug-in, AI can now read, analyze, and manage project issues directly.
In this blog post, we’ll cover the technical details of the integration, setup instructions, and real-world use cases.
What can you do with Pinly MCP?
Instead of manually searching through lists and menus, you can ask your AI assistant to work with Pinly comments. It can find specific threads, update comments, and handle multiple issues at once.
Here’s what you can do with Pinly MCP:
| Task | What AI can do |
|---|---|
| Find comments | Search threads and comments based on your criteria |
| Create comments | Start a new thread |
| Reply | Add comments to existing threads |
| Edit | Update existing comments |
| Resolve | Mark threads as resolved |
| Review | Find unresolved or outdated issues |
| Batch actions | Process multiple threads at once |
| Project information | Query hubs, projects, and memberships |
The real advantage of this integration lies in Review and Batch actions. For example, instead of clicking through multiple views to audit your project, you can ask the assistant to "find all unresolved comments assigned to the mechanical team last week." Once it pulls up the list, you can tell it to "mark them as resolved" and process a massive amount of issues in a single prompt.
When paired with Revit MCP, the workflow becomes even more autonomous. The AI assistant can inspect your active Revit model, identify elements that match a specific condition (such as missing parameters or design clashes), and automatically place contextual Pinly comments directly on those elements.
How Pinly MCP works under the hood
Pinly MCP is built using the official Model Context Protocol package. Our focus was less on exposing as many tools as possible and more on defining a useful set of actions that AI assistants can safely perform. We also had to find the right balance when designing the tools: broad enough to be useful, but specific enough to keep each action predictable.
With MCP, a typical endpoint would look like this:
[McpServerTool, Description("Delete a comment with provided ID")]
public async Task<CallToolResult> DeleteComment([Description("Comment identifier")] Guid id) {
   // some tool call validation
   var deleted = await commentService.TryDeleteComment(id);

   var response = new
   {
       message = deleted ? "Comment was deleted" : "Comment was not deleted. Please try again",
   // other optional data for server-client communication
   };

   var responseText = JsonSerializer.Serialize(response);

   return new CallToolResult
   {
       Content =
       [
           new TextContentBlock
           {
               Text = responseText
           }
       ]
   };
}
Setting up Pinly MCP
Since this feature is still actively evolving, the initial setup requires connecting three separate components:
- Your Revit environment
- Pinly account
- Preferred LLM client
For this guide, we will use Claude Code to orchestrate the workflow, but any major desktop LLM client with MCP support will work.
1. Revit:
Starting with Revit 2027, Revit supports MCP natively. Earlier versions don’t have native MCP support, but you can use a third-party MCP connector instead. For instructions on setting up MCP with Revit, read our article.
2. Pinly
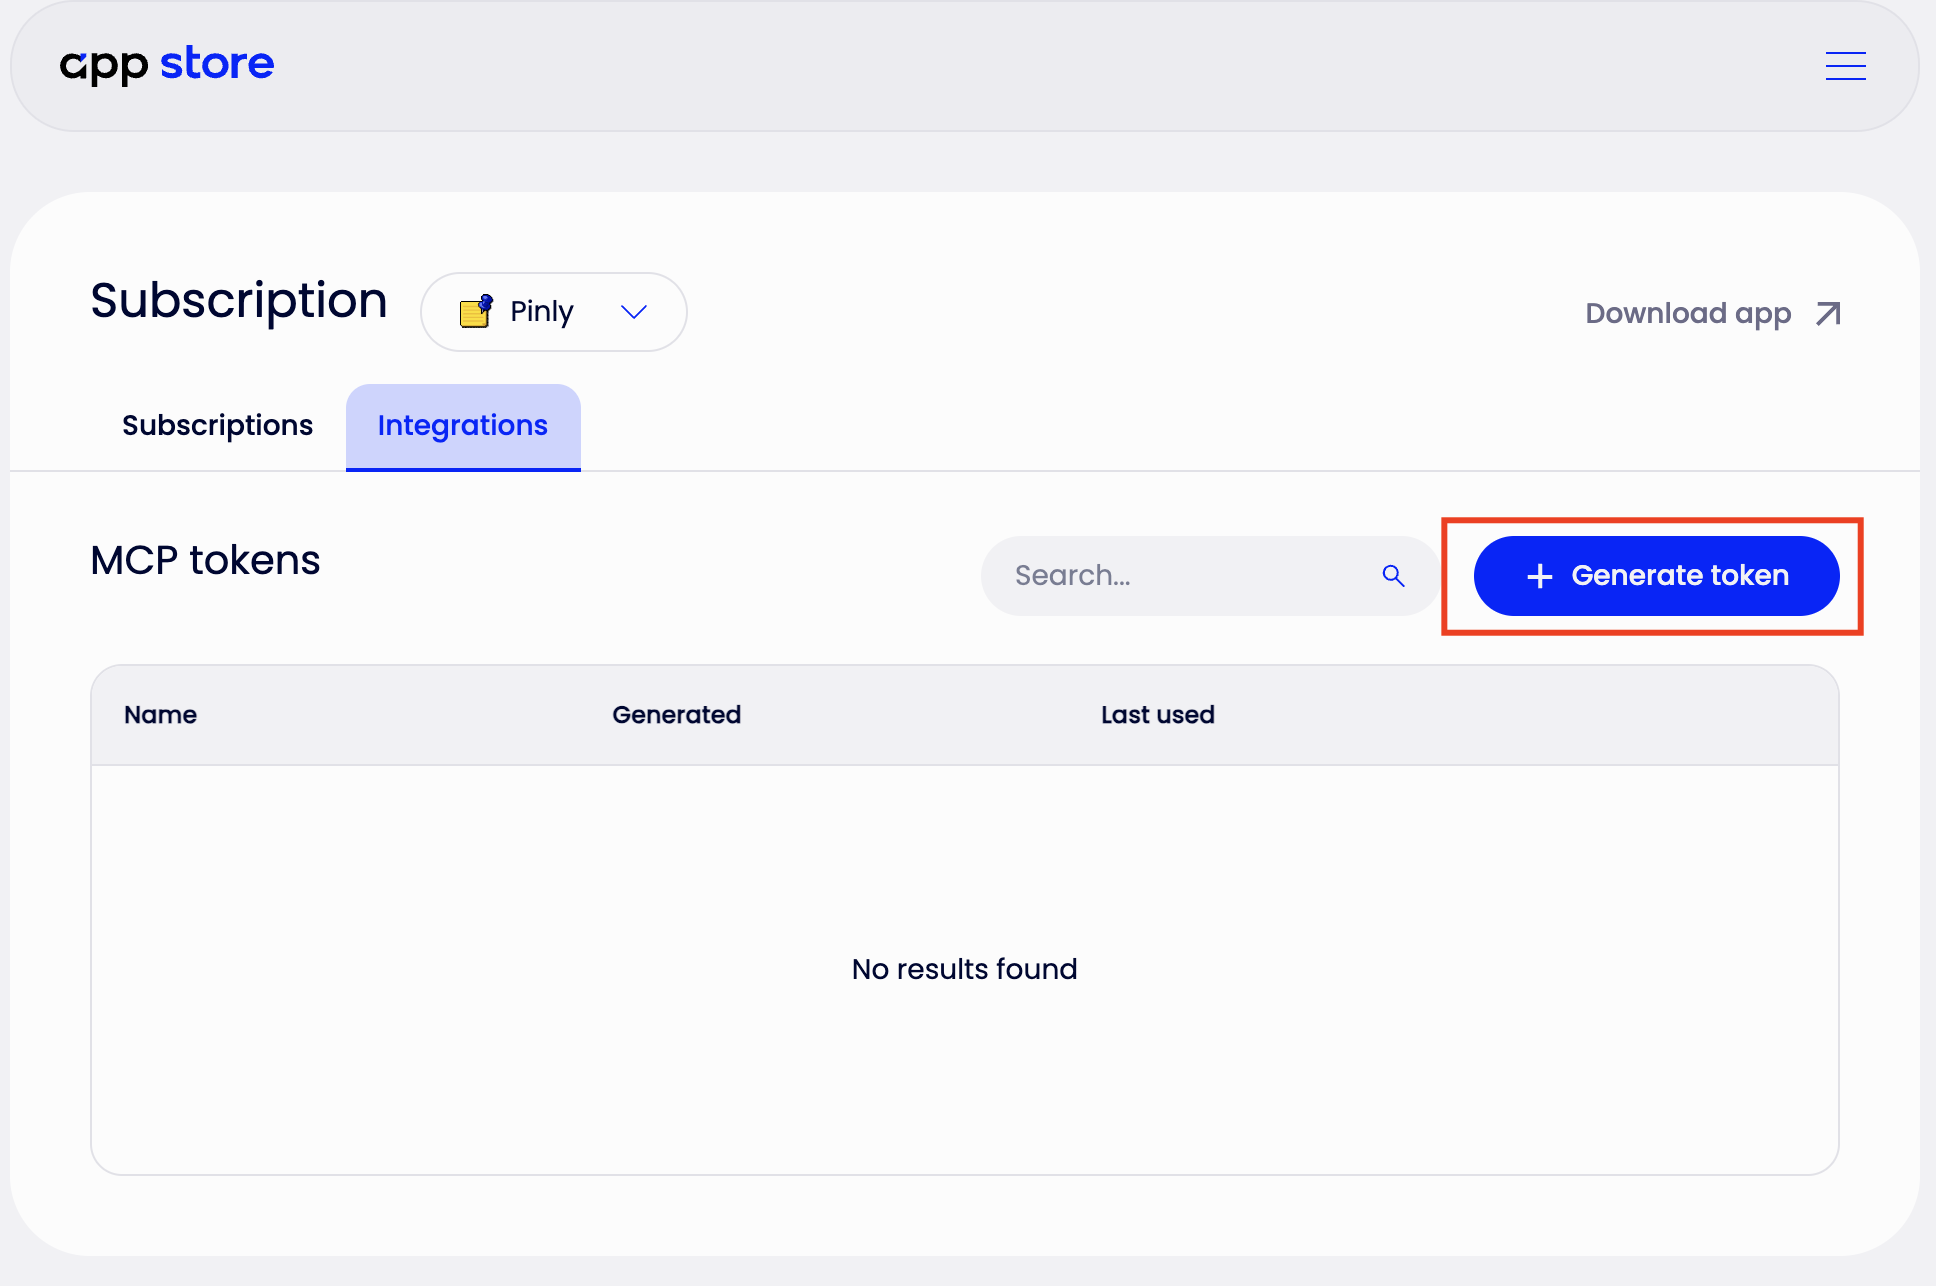
First, download and install Pinly. You can start with a free plan if you want to try it out. Then open your Atomatiq account and go to Profile → Subscription → Integrations. Under MCP, generate a new token. Keep the token secure — it is used to authenticate your Pinly account.
3. LLM Client
As mentioned, we are using Claude Code as our primary client. If you are using a different LLM client, please reference its official documentation on how to add custom MCP connectors.
To connect the Pinly and Revit servers to Claude Code, open your command prompt and run the following commands:
# hubs server: projects, hubs, memberships
claude mcp add --transport http hub-mcp https://api.hubs.atomatiq.io/mcp --header "Authorization: Bearer YOUR_PINLY_INTEGRATION_TOKEN_HERE"

# pinly server: threads, comments, resolving, etc.
claude mcp add --transport http hub-mcp https://api.pinly.atomatiq.io/mcp --header "Authorization: Bearer YOUR_PINLY_INTEGRATION_TOKEN_HERE"
How to use Pinly MCP in your workflow
Pinly MCP is highly flexible. It can be used either alongside Revit or as a completely independent "write" layer for project management.
With Revit MCP
When both connectors are active, the LLM client can read model data and write comments in a single, uninterrupted workflow.
For example, you can instruct the AI assistant to query a specific set of elements, validate their parameters, and automatically place a Pinly comment on any element that fails the check.
Without Revit MCP
Pinly MCP doesn't depend on Revit MCP and doesn't require Revit to be open on your machine. To create a comment, the AI simply needs the model context (such as an element ID or coordinates) so it knows exactly where to pin the issue.
You can provide this information via:
- Data cached from a previous Revit MCP session
- Manual input provided directly in your prompt (e.g., pasting an ID or location)
- Another third-party tool or database that supplies model references
As long as the assistant knows what to attach the comment to, it can create, reply to, and resolve issues independently. Any tool capable of understanding your model can use Pinly MCP to log issues that instantly become visible to the entire team.
Identifying AI-generated comments
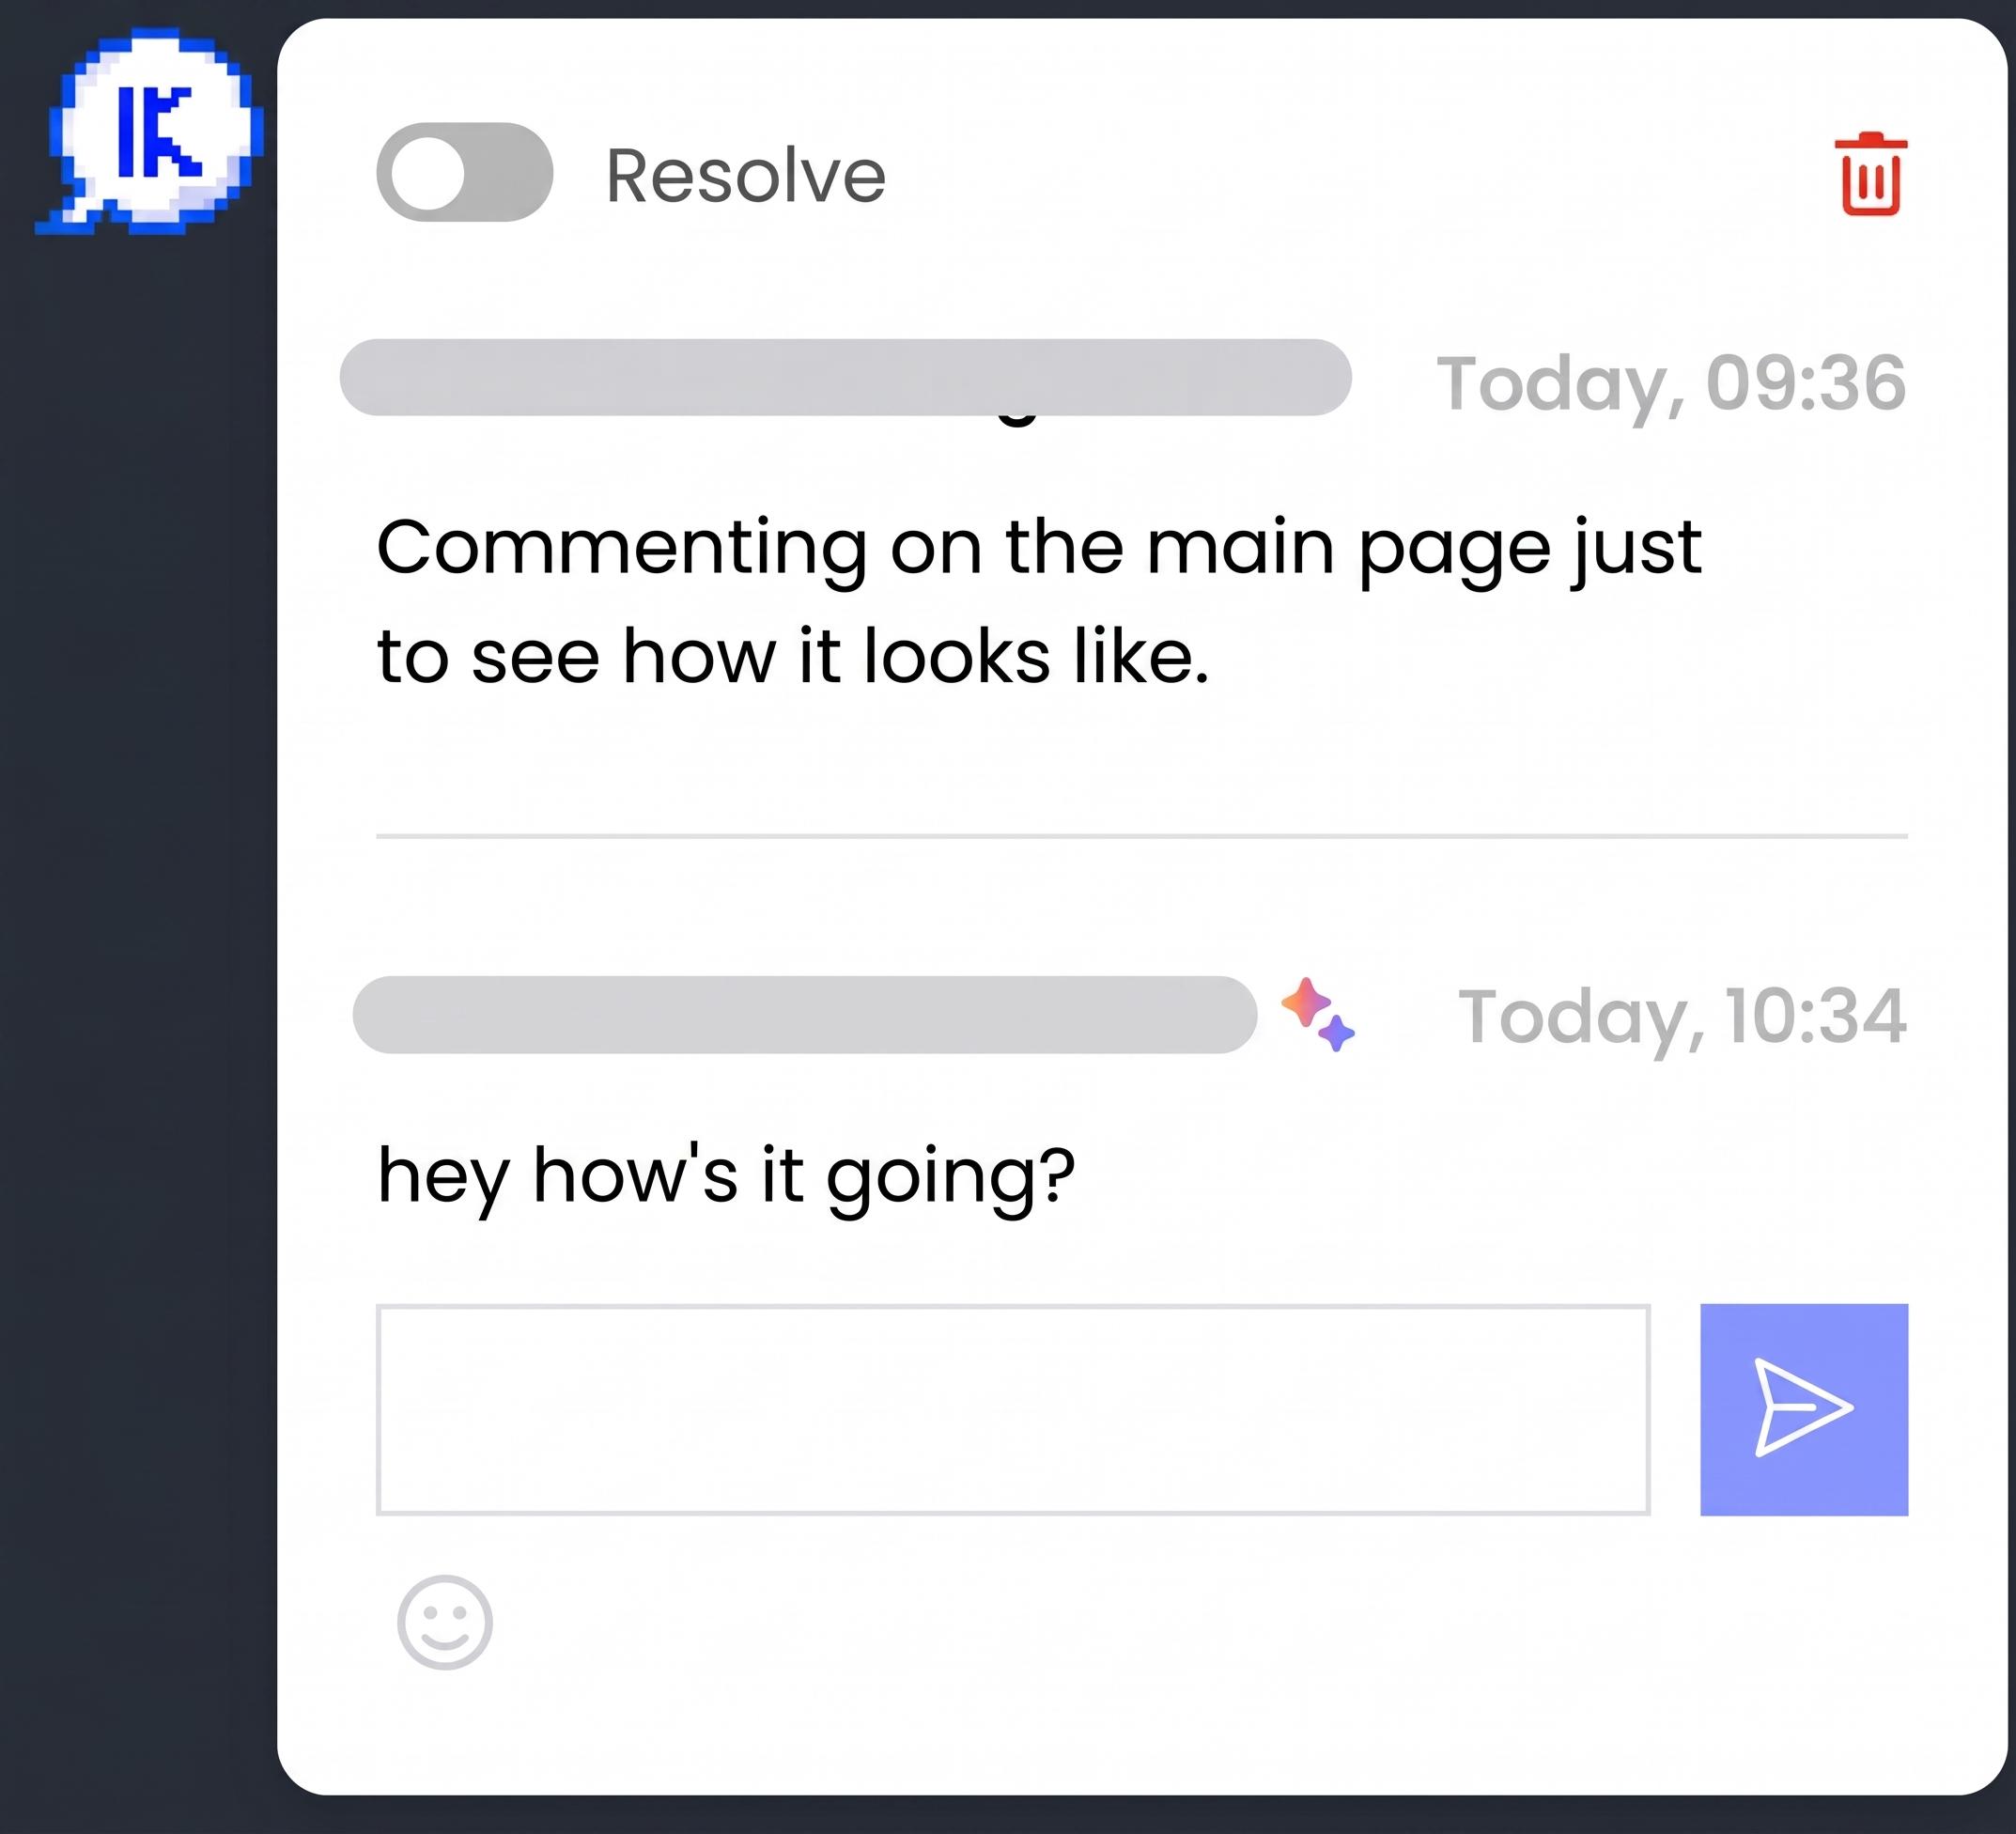
Any comment or thread generated by the AI assistant is automatically flagged with a ✨ icon, which is visible to all project members. We introduced this marker for three reasons:
- Accountability: AI models have a distinct writing style. The icon clarifies why a comment might read differently than a colleague's usual communication.
- Quality control: Like any LLM-based tool, the assistant can occasionally misinterpret context. The icon serves as a built-in reminder for the team to verify the attached data and assumptions.
- Feature awareness: It highlights the active use of AI automation within the project environment, which encourages other team members to explore the workflow.
Use cases
Pinly MCP lets you work with threads and comments directly from your AI assistant. You can:
- Create new threads and delete them
- Leave comments to existing threads
- Edit comments
- Mark threads as resolved, or unresolve them
You can also query information about your hubs and projects, including:
- Available hubs & projects
- Project memberships and user roles
Instead of clicking through dozens of menus, you can use the assistant to automate repetitive project management tasks. For example, you can ask your AI assistant to:
- Find a specific thread where an issue was mentioned
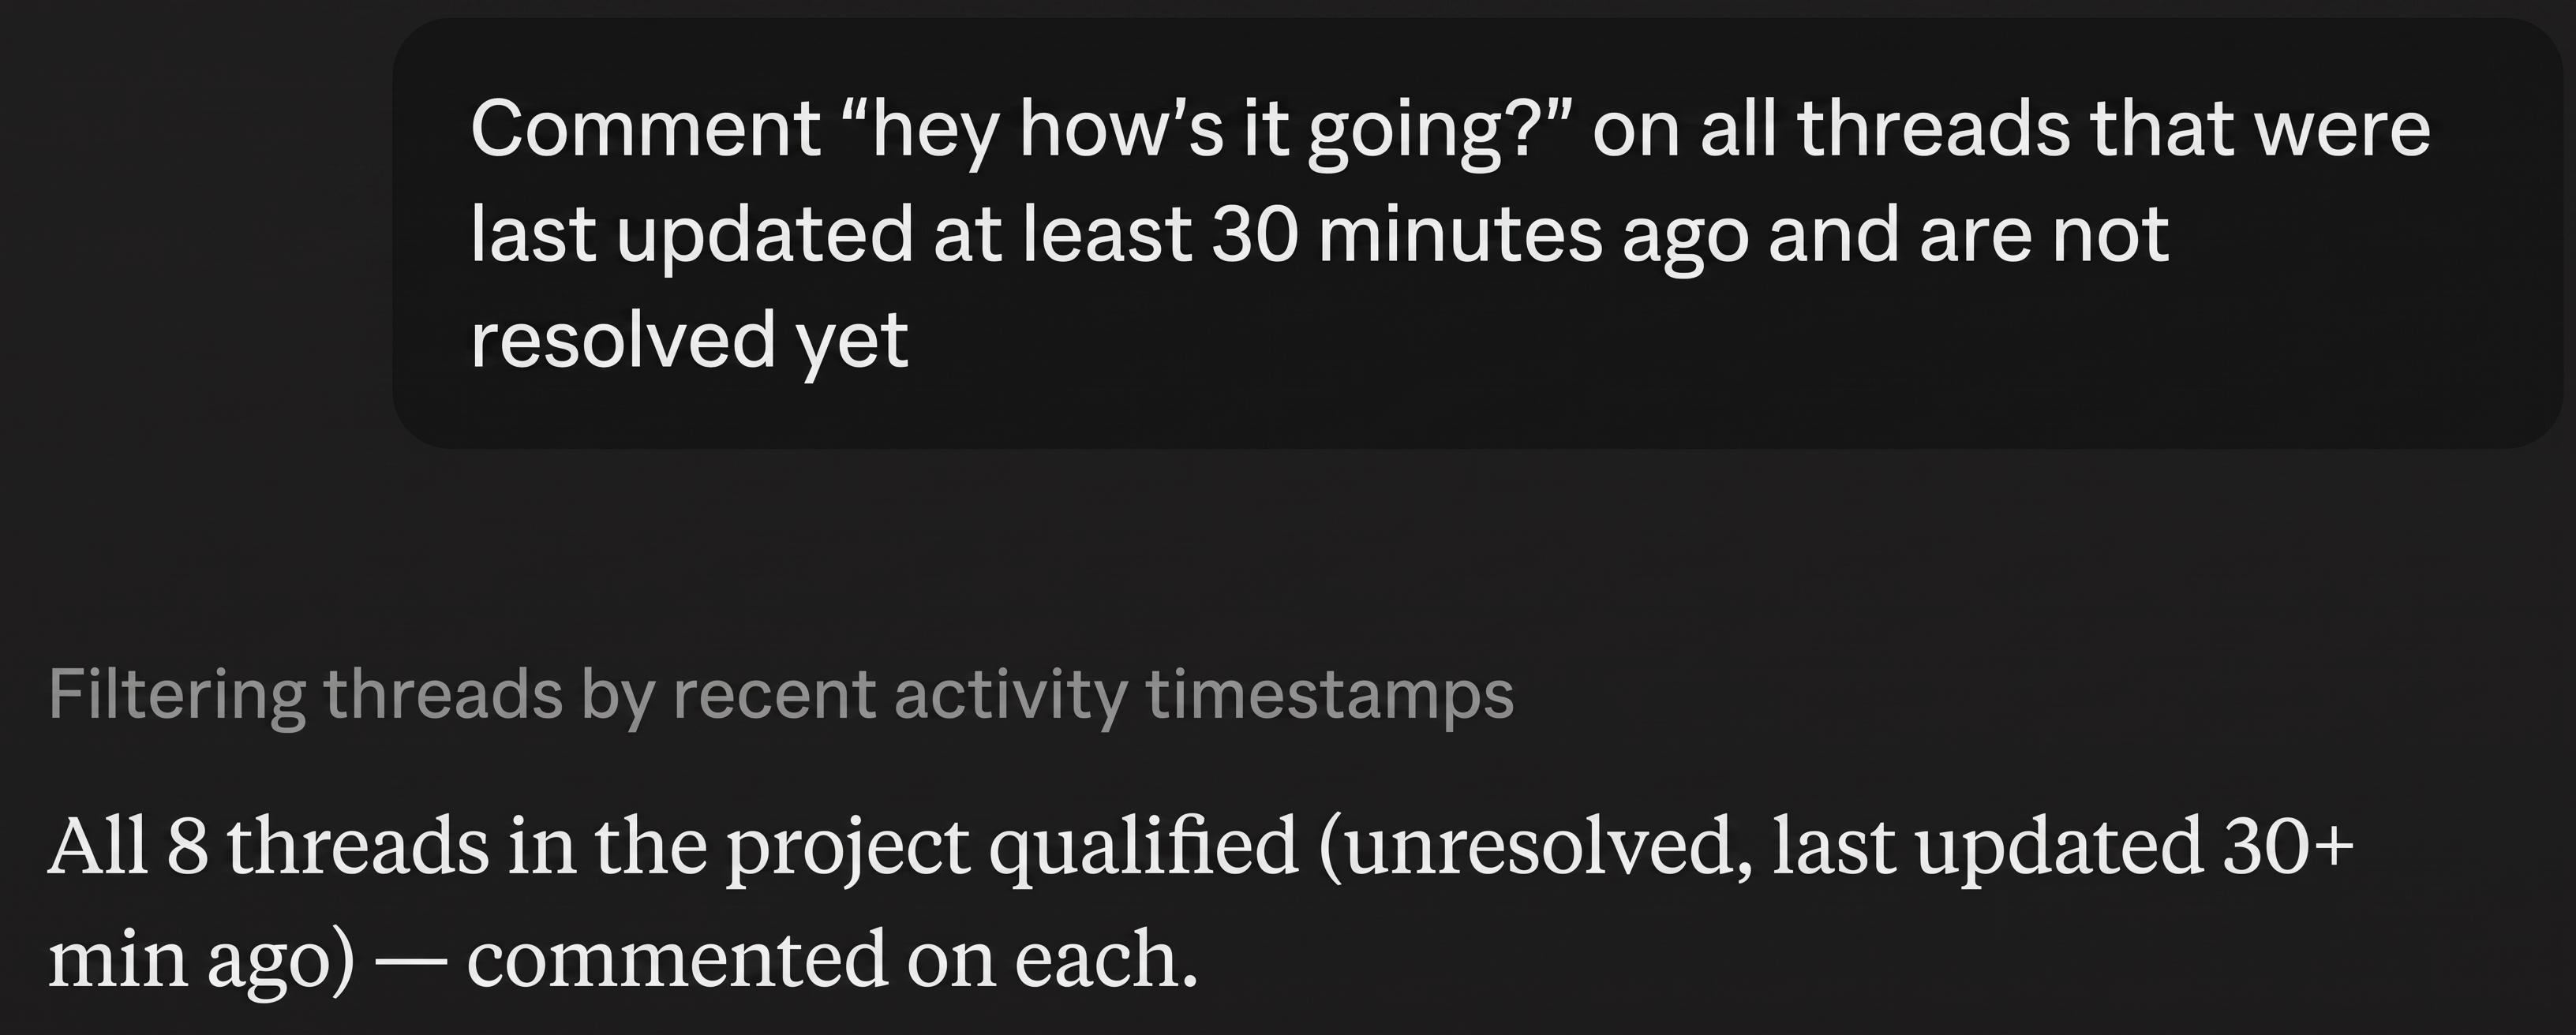
- Comment on all threads that have been open for more than a week and are still unresolved
- Find all comments related to the part of the project you are responsible for
Bottom line: Is Pinly MCP right for your workflow?
The decision to adopt Pinly MCP depends on the scale of your projects and the volume of issues your team manages daily. If you are managing a small model with only a handful of active threads, the standard Pinly UI is perfectly sufficient. There is little need to introduce natural language automation when a few mouse clicks will do the job.
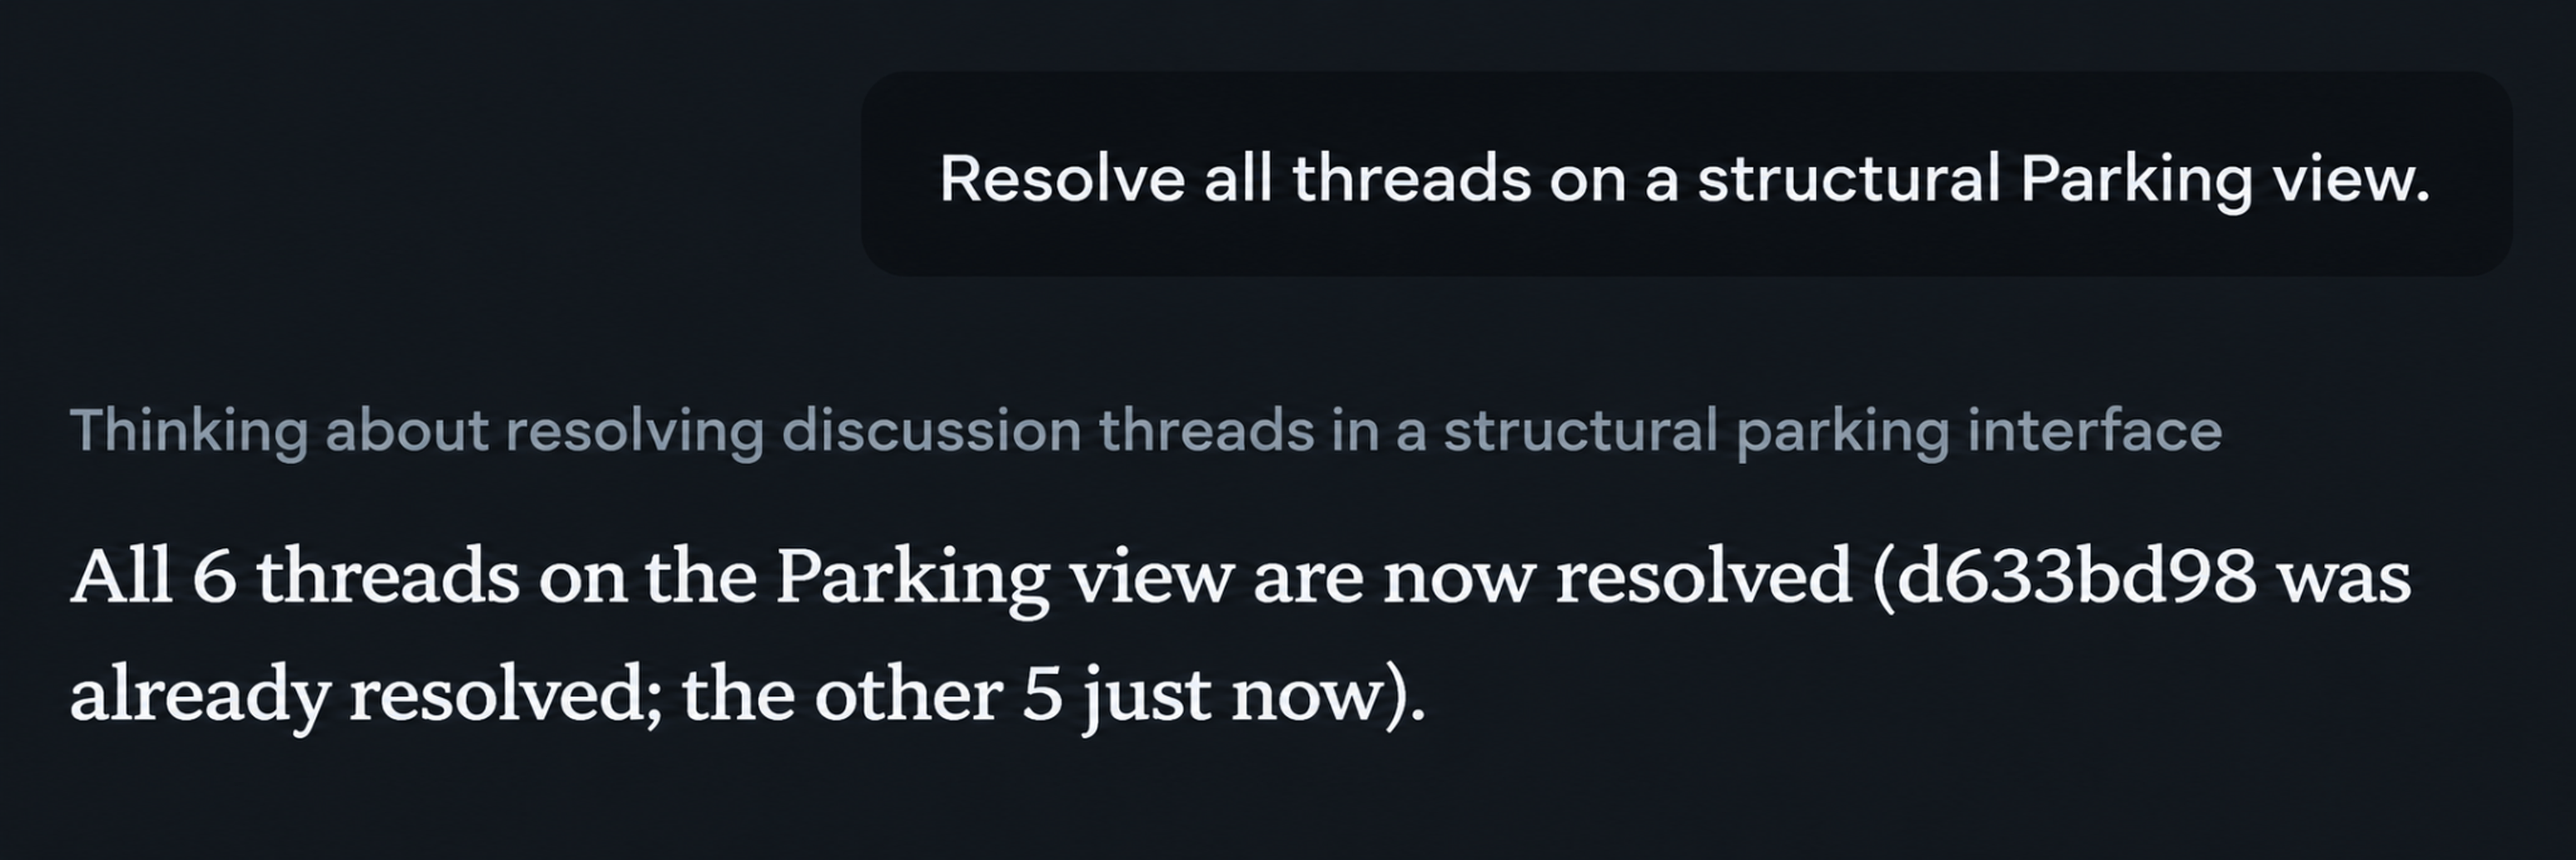
However, if you are a BIM coordinator or lead engineer managing hundreds of clashes, missing parameters, and discipline-specific comments, Pinly MCP changes the game. You can filter, update, and resolve issues in bulk or fully automate comment placement alongside Revit MCP.
FAQ
Do I need to have Revit open to use Pinly MCP?
No. As long as the AI assistant has the necessary model context (such as an element ID provided in your prompt), it can create and manage comments without a running Revit session.
What can I do with Pinly MCP?
You can create, delete, edit, reply to, resolve, and reopen threads and comments. You can also search through comments and project information and handle multiple issues in a single request.
How can my team tell if a comment was generated by AI?
All comments and threads created or edited via the AI assistant are automatically marked with a ✨ icon.
Can I process multiple Revit comments at the same time?
Yes. Batch processing is one of the main advantages of Pinly MCP. Instead of clicking through issues one by one, you can instruct the assistant to find, filter, and resolve dozens of comments across your project simultaneously.
Which LLM clients are supported?
You can use any major desktop LLM client that supports the MCP. We use Claude Code as our primary orchestrator, but the setup will work with other compatible clients.
CEO & Co-founder
Ilia Ivanov is a BIM and AEC software development expert with over 10 years of experience. He specializes in Autodesk Revit, BIM automation, and custom software development for the AEC industry. Ilia shares practical insights on the Revit API, AI-powered engineering workflows, and building tools that help design teams work more efficiently.