Custom Revit Dockable Pane registration

This article provides a step-by-step guide to creating a custom Dockable Pane for Autodesk Revit (2024 and earlier). It covers setting up the project, registering the pane, implementing the IDockablePaneProvider interface, adding a ribbon button, and managing the pane’s visibility. All examples are based on .NET Framework 4.8 and demonstrate best practices for structuring a Revit add-in.
creating the library class
Start by creating a Class Library project using .NET Framework 4.8 (compatible with Revit 2024 and earlier).
This step lays the foundation for your add-in. If you’re familiar with Revit development, this is a standard setup process. Otherwise, you can refer to the example here.
Adding core classes
Next, create at least four classes to structure your add-in:
- Application — inherits IExternalApplication. This class is responsible for registering the DockablePane and setting up the Ribbon Panel for the command.
- Command — inherits IExternalCommand. This class manages the visibility of the DockablePane.
- DockablePaneProvider — inherits IDockablePaneProvider. This class defines and configures the DockablePane.
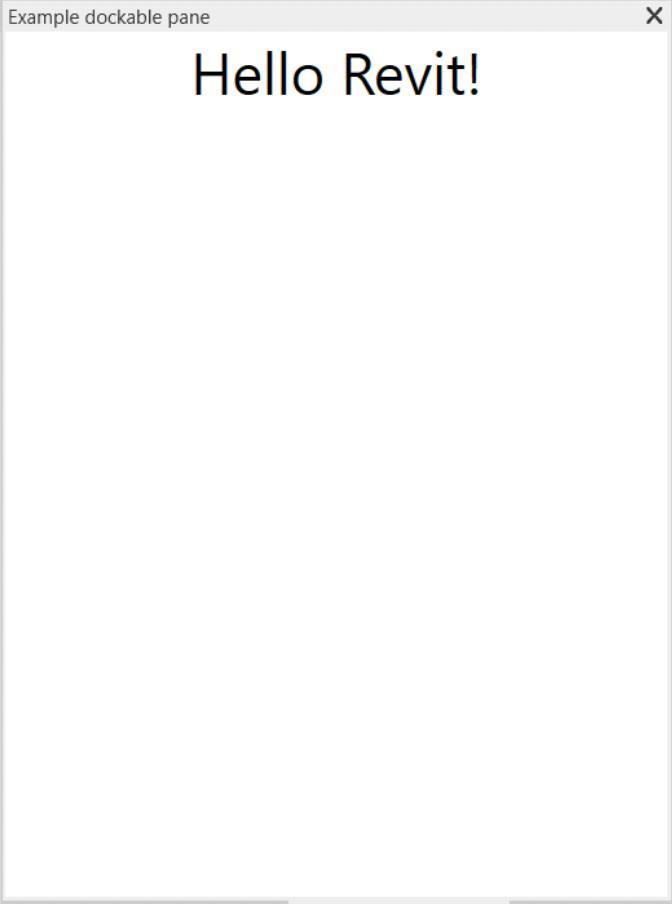
- Page — use a Page (not a Window). For demonstration purposes, a simple “Hello Revit!” page without a ViewModel is created, since this article focuses only on DockablePane registration.
Page sample:
<Page x:Class="DockablePaneExample.ExamplePage"     xmlns="http://schemas.microsoft.com/winfx/2006/xaml/presentation     xmlns:x="http://schemas.microsoft.com/winfx/2006/xaml"     xmlns:mc="http://schemas.openxmlformats.org/markup-compatibility/2006"     xmlns:d="http://schemas.microsoft.com/expression/blend/2008"     xmlns:local="clr-namespace:DockablePaneExample"     mc:Ignorable="d"
Background="White"
d:DesignHeight="850"
d:DesignWidth="400">
   <Grid>
       <TextBlock
           FontSize="36"
           VerticalAlignment="Top"
           HorizontalAlignment="Center"
           Text="Hello Revit!" />
   </Grid>
</Page>
Externalcommand to show/hide the pane:
using Autodesk.Revit.DB;
using Autodesk.Revit.UI;
using System;

namespace DockablePaneExample
{
    [Autodesk.Revit.Attributes.Transaction(Autodesk.Revit.Attributes.TransactionMode.Manual)]
    public class ShowCommand : IExternalCommand
    {
        public Result Execute(ExternalCommandData commandData, ref string message, ElementSet elements)
        {
            var dockablePaneId = new DockablePaneId(new Guid("ADC789B2-3BFB-4217-9728-B6481C9791E4"));
            var dockablePane = commandData.Application.GetDockablePane(dockablePaneId);

            if (dockablePane.IsShown())
            {
                dockablePane.Hide();
            }
            else
            {
                dockablePane.Show();
            }

            return Result.Succeeded;
        }
    }
}
This code does not handle the case where no DockablePane with the specified ID exists. In such situations an exception is thrown and Revit displays a message box.
To improve architecture, a separate static class can be used to store the Guid for the DockablePaneId as a constant value. This allows referencing it from one place, simplifying maintenance and reducing the chance of errors.
Implementing Idockablepaneprovider
Below is a minimal provider implementation:
namespace DockablePaneExample
{
    public class ExampleDockablePaneProvider : IDockablePaneProvider
    {
        private readonly DockablePaneProviderData _data;

        public ExampleDockablePaneProvider(DockablePaneProviderData data)
        {
            _data = data;
        }

        public void SetupDockablePane(DockablePaneProviderData data)
        {
            data.FrameworkElement = _data.FrameworkElement;
            data.VisibleByDefault = _data.VisibleByDefault;
            data.InitialState = _data.InitialState;
        }
    }
}
Why both data and _data? How to use them correctly?
The key is the signature of RegisterDockablePane(...): it requires an IDockablePaneProvider, while all configuration for a Dockable Pane lives in DockablePaneProviderData. The provider’s SetupDockablePane receives a DockablePaneProviderData instance to populate. Hence, there are several options:
- Configure inside SetupDockablePane.
Initialize DockablePaneProviderData directly within SetupDockablePane.
Drawback: a bespoke provider is needed for every different pane configuration. - Constructor injection (shown above).
Pass a prepared DockablePaneProviderData into the provider’s constructor and copy values in SetupDockablePane.
Benefit: the same provider type can be reused with different data objects. - Delegate/callback.
Provide a delegate that is invoked inside SetupDockablePane to fill the data.
Benefit: high reusability and clear separation; suitable for advanced scenarios.
Registering the Dockable Pane in Application:
private static void SetupDockablePane(UIControlledApplication application)
{
    var dockablePaneData = new DockablePaneProviderData()
    {
        FrameworkElement = new ExamplePage(),
        VisibleByDefault = true,
        InitialState = new DockablePaneState
        {
            DockPosition = DockPosition.Right,
            MinimumWidth = 400
        },
    };

    var dockablePaneId = new DockablePaneId(new Guid("ADC789B2-3BFB-4217-9728-B6481C9791E4"));
    var title = "Example dockable pane";

    application.RegisterDockablePane(dockablePaneId, title, new ExampleDockablePaneProvider(dockablePaneData));
}
In this approach a preconfigured dockablePaneData is passed to RegisterDockablePane via the provider instance.
Ribbon panel and command button
Add a Ribbon Panel and a PushButton to toggle the pane:
private void SetupPanel(UIControlledApplication application)
{
    string tabName = "DockablePaneExample";
    application.CreateRibbonTab(tabName);
    RibbonPanel ribbonPanel = application.CreateRibbonPanel(tabName, "DockablePaneExample");
    AddPushButton(ribbonPanel, "Show panel", assemblyPath, "DockablePaneExample.ShowCommand");
}

private PushButton AddPushButton(RibbonPanel ribbonPanel, string buttonName, string path, string linkToCommand)
{
    var buttonData = new PushButtonData(buttonName, buttonName, path, linkToCommand);
    var button = ribbonPanel.AddItem(buttonData) as PushButton;
    return button;
}
The Application class
Remaining Application members:
using Autodesk.Revit.DB;
using Autodesk.Revit.UI;
using System;
using System.Reflection;

namespace DockablePaneExample
{
    public class Application : IExternalApplication
    {
        static AddInId addInId = new AddInId(new Guid("B7CC71C6-6725-4D92-8044-1F16B12631DC"));
        private readonly string assemblyPath = Assembly.GetExecutingAssembly().Location;

        public Result OnStartup(UIControlledApplication application)
        {
            SetupDockablePane(application);
            SetupPanel(application);
            return Result.Succeeded;
        }

        public Result OnShutdown(UIControlledApplication application)
        {
            return Result.Succeeded;
        }

        // other methods shown above
    }
}
With the code in place, the solution can be built, the add-in manifest added, and Revit launched.
That’s it — a fully custom Revit DockablePane is now implemented.
The source code from this article is available on GitHub.